
Homemade Pita Chips Recipe is your go-to snack when you’re craving something crispy, flavorful, and satisfying. These golden, crunchy chips can instantly make any snack moment feel special—perfect for dipping, munching, or simply enjoying on their own. Sure, store-bought pita chips are convenient, but nothing beats the fresh aroma and warm crunch of ones ready right in your kitchen.
What makes this pita chips recipe even better is how simple it is to customize with your favorite seasonings, the right amount of oil, and your preferred baking or frying method. Once you try this Homemade Pita Chips Recipe, you’ll never go back to the bagged kind!
Table of Contents
What Are Pita Chips?
Pita chips are a simple and tasty snack made from pita bread that is baked or toasted until crispy. They are perfect when you want something crunchy, light, and homemade, rather than store-bought chips. Enjoy them as they are or serve them with your favorite dips.
A Homemade Pita Chips Recipe is easy to prepare with just a few basic ingredients. All you need is pita bread, a little olive oil, and simple seasonings like salt, garlic powder, or herbs. In just minutes, you can turn plain pita into a delicious, crunchy treat.
One of the best things about a Homemade Pita Chips Recipe is how customizable it is. You can make them spicy, cheesy, or even slightly sweet, depending on your taste. They are also a great way to use leftover pita bread without wasting it.
If you are looking for a quick snack or party appetizer, a homemade pita chip recipe is a perfect choice. Crispy, flavorful, and fresh from your own kitchen, these chips are sure to become a favorite for everyone.
Why You’ll Love This Recipe
- Quick and simple: This Homemade Pita Chips Recipe takes only a few pantry ingredients and about 15 minutes to make.
- Better than store-bought: With this Homemade Pita Chips Recipe, you get fresh chips without preservatives, artificial flavors, or unwanted oils.
- Great for everyday snacking: Crispy, crunchy, and full of flavor, these chips are a light and satisfying treat anytime.
- Perfect for using leftover pita: If you have pita bread sitting around, this is the easiest way to turn it into something delicious again.
- Easy to customize: From garlic herb to spicy chili lime, this Homemade Pita Chips Recipe can match any taste you love.
- A true crowd favorite: Both children and adults enjoy these chips even more when paired with hummus, salsa, or smooth dips.
Read More: Healthy Chocolate Chip Muffins
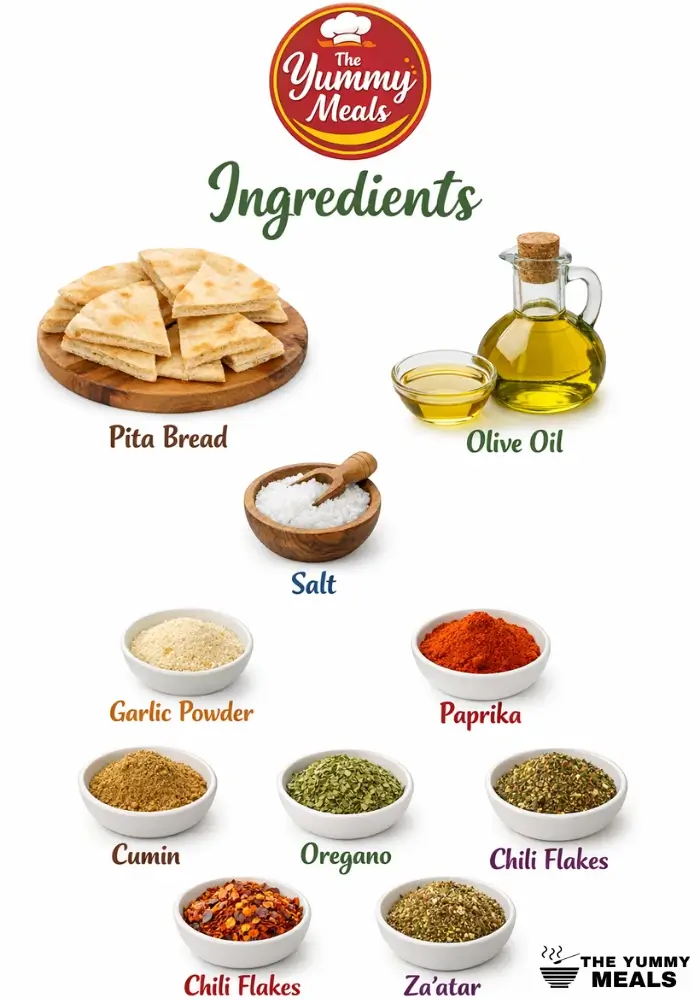
Ingredients Needed
- Pita Bread: White, whole wheat, or multigrain — all work great. Whole wheat adds a nutty flavor, while white pita gives that classic crunch.
- Olive Oil: Helps the chips crisp up and adds rich flavor. Use extra virgin olive oil for a richer, more flavorful taste.
- Salt: Brings out the natural flavors and enhances all the seasoning you add.
- Seasonings (optional): Try garlic powder, paprika, cumin, oregano, chili flakes, or za’atar for extra flair.
Tip: Choose fresh pita for softer, slightly chewy chips, or go with day-old pita if you prefer them extra crisp and crunchy.
How to Make Homemade Pita Chips Recipe
Preparation
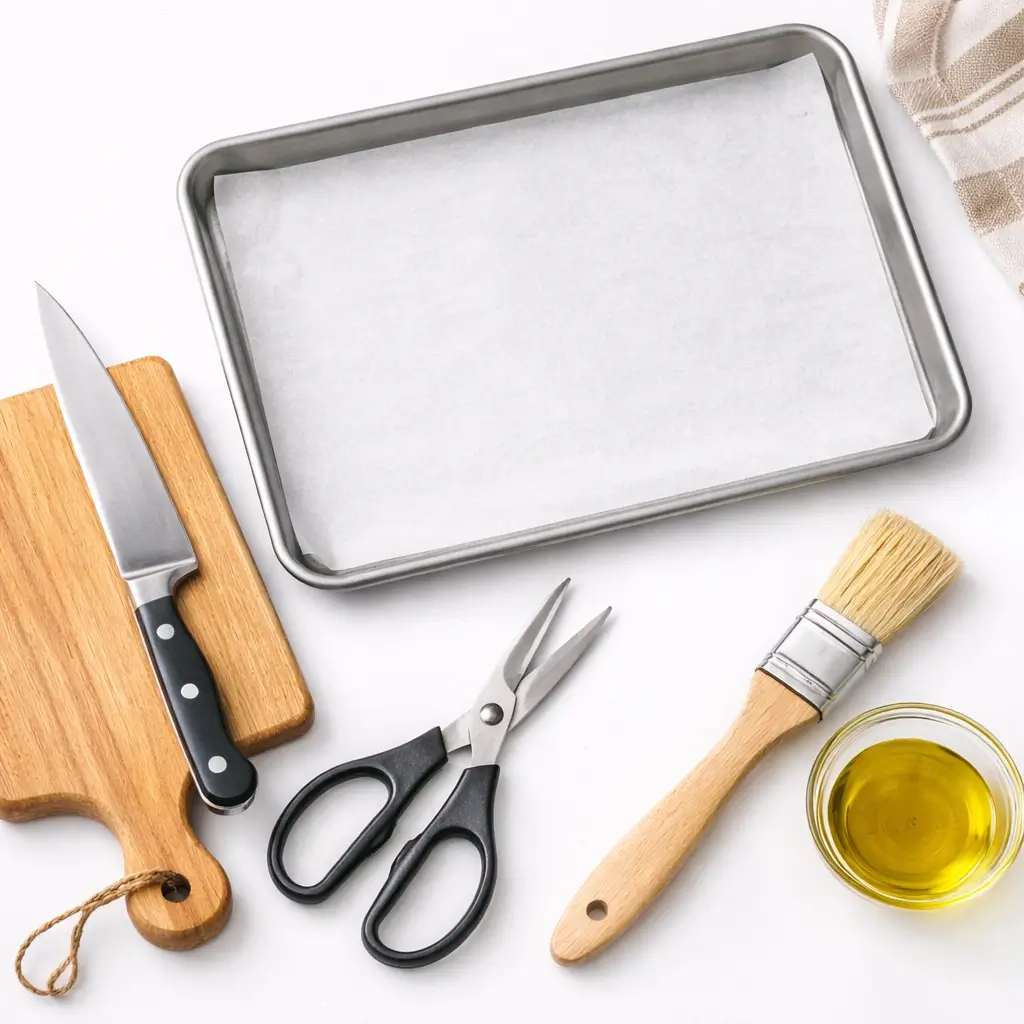
- Preheat the oven to 400°F (200°C). If you’re using an air fryer, warm that up too. You’ll need a sharp knife or kitchen scissors, a baking sheet, parchment paper, and a pastry brush.
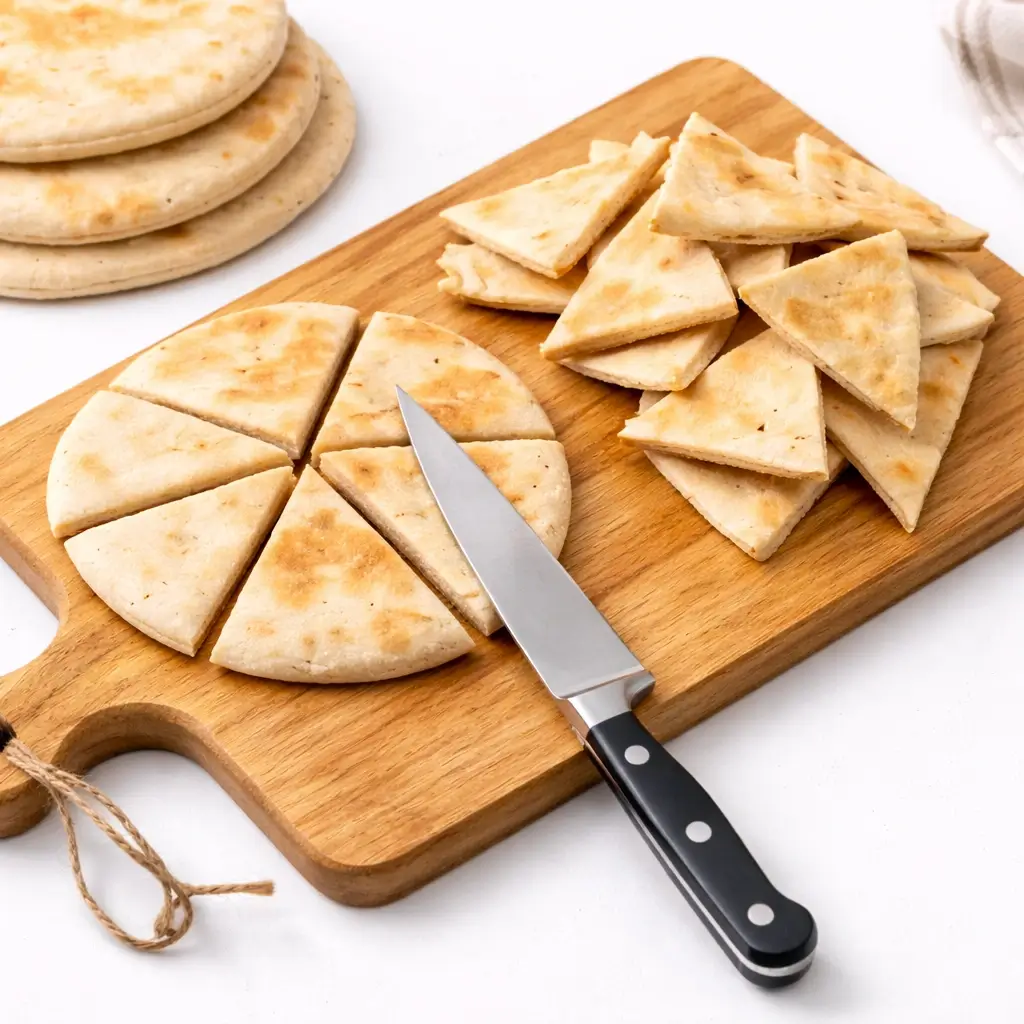
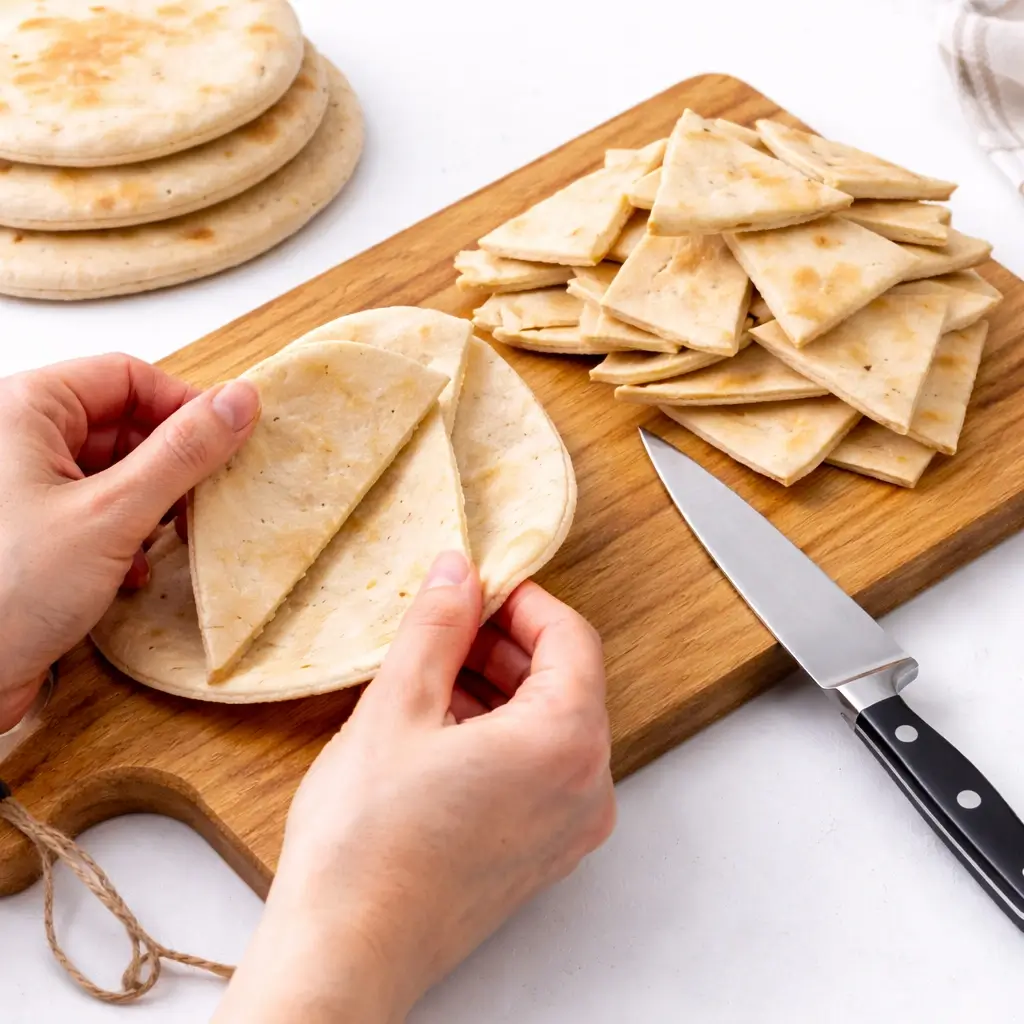
- Cut the pita: Slice each pita into triangles, squares, or strips — whatever shape you prefer. Triangles are the most popular!
Seasoning
- Separate the layers (optional): If you prefer thin and extra crisp chips, gently peel the pita apart before cutting.
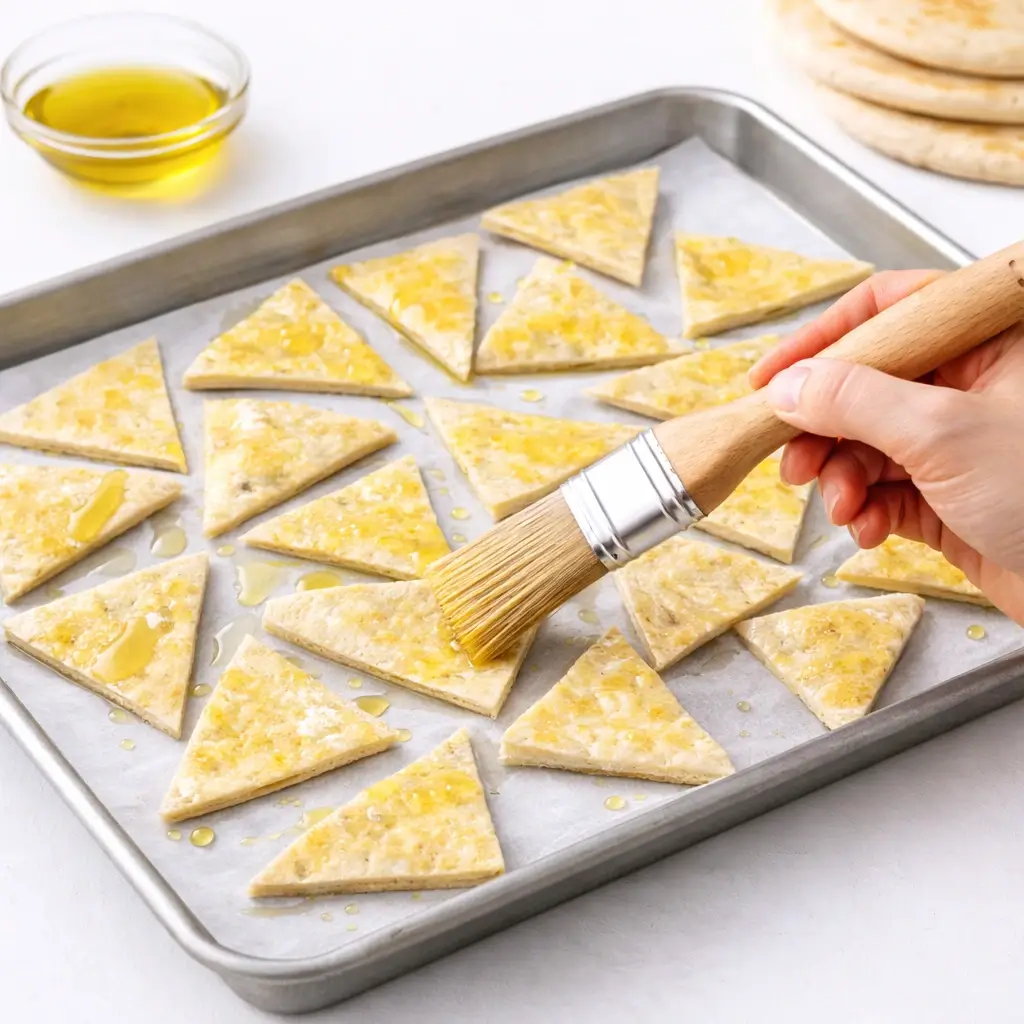
- Brush with olive oil: Lightly coat both sides using a brush. You don’t need much — just enough for a golden glow.
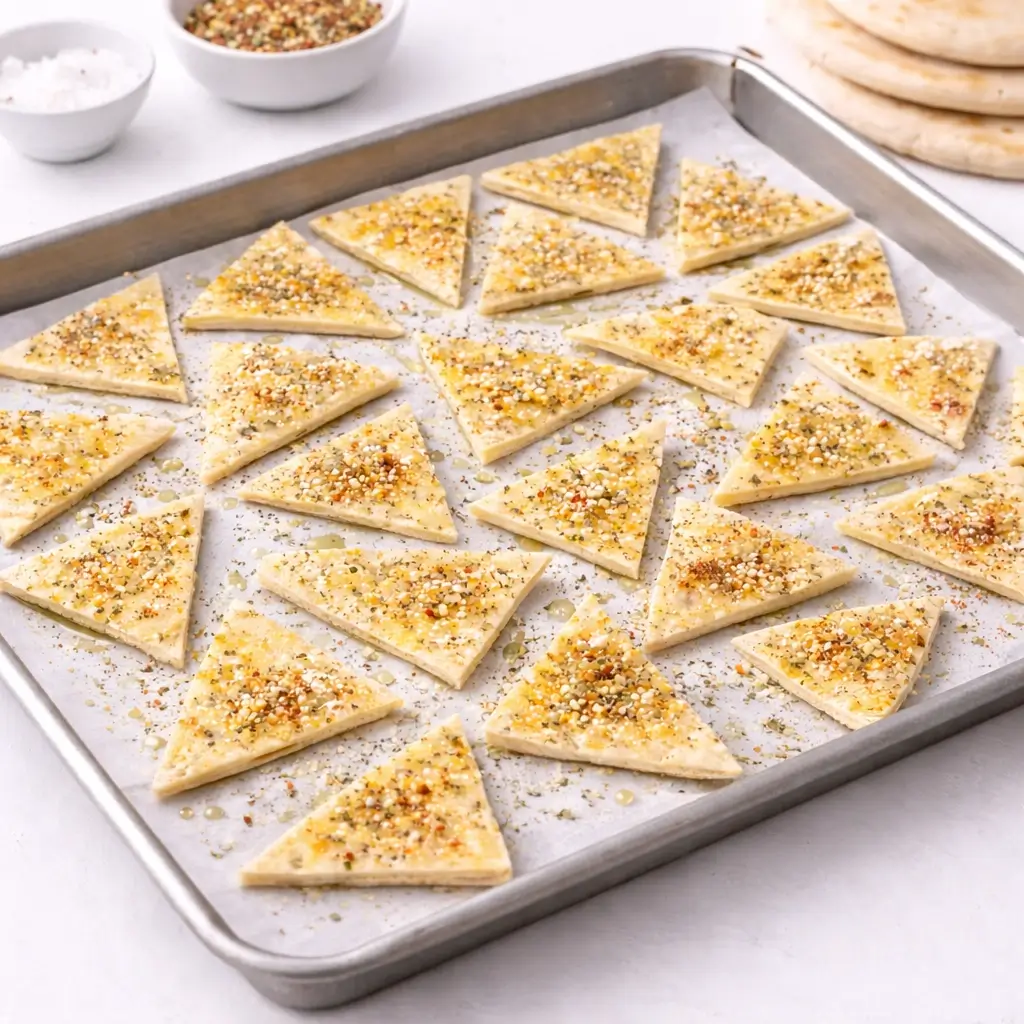
- Sprinkle seasonings: Add salt and your favorite mix of spices. Be sure to coat evenly for the best flavor.

Bake the Pita Chips
- Arrange on tray: Lay the pita pieces in a single layer on your baking sheet. Avoid overlapping — they need space to crisp up.
- Bake: Pop them into the oven for 7–10 minutes, or until they’re golden brown and crisp.
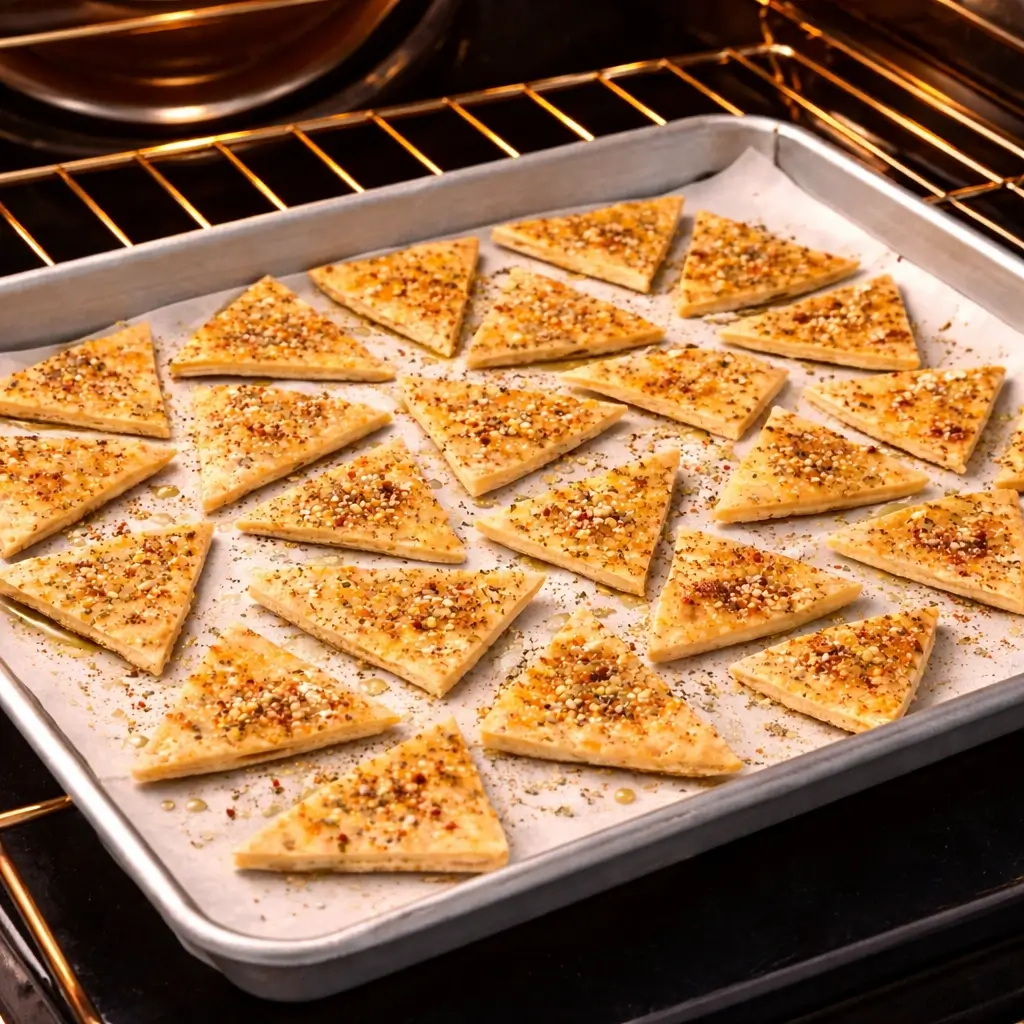
- Flip halfway: Turn the chips over at the halfway mark for even cooking.
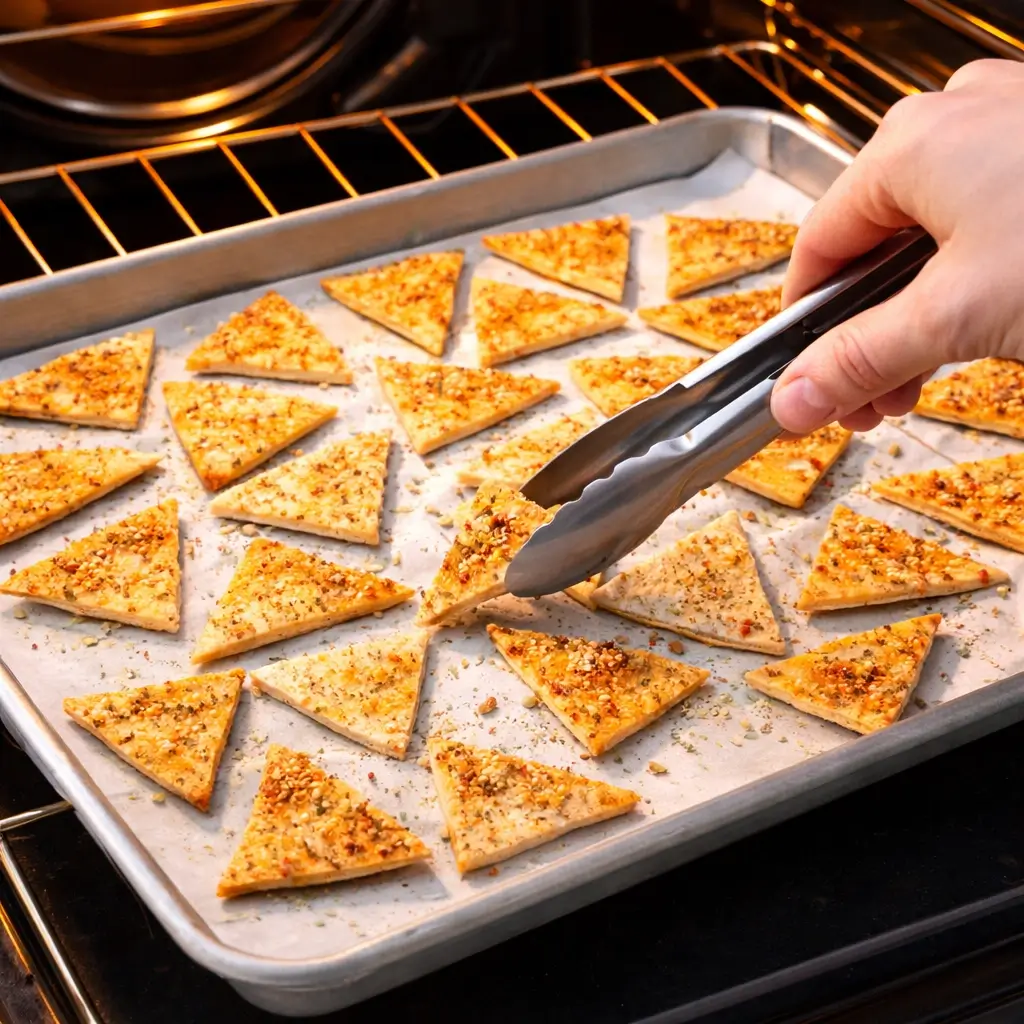
Note: Watch them closely during the last minute — they can go from perfect to burnt fast!
Cool and Store
- Cool completely: Let your chips cool on the tray before moving them. That helps lock in that crunch.
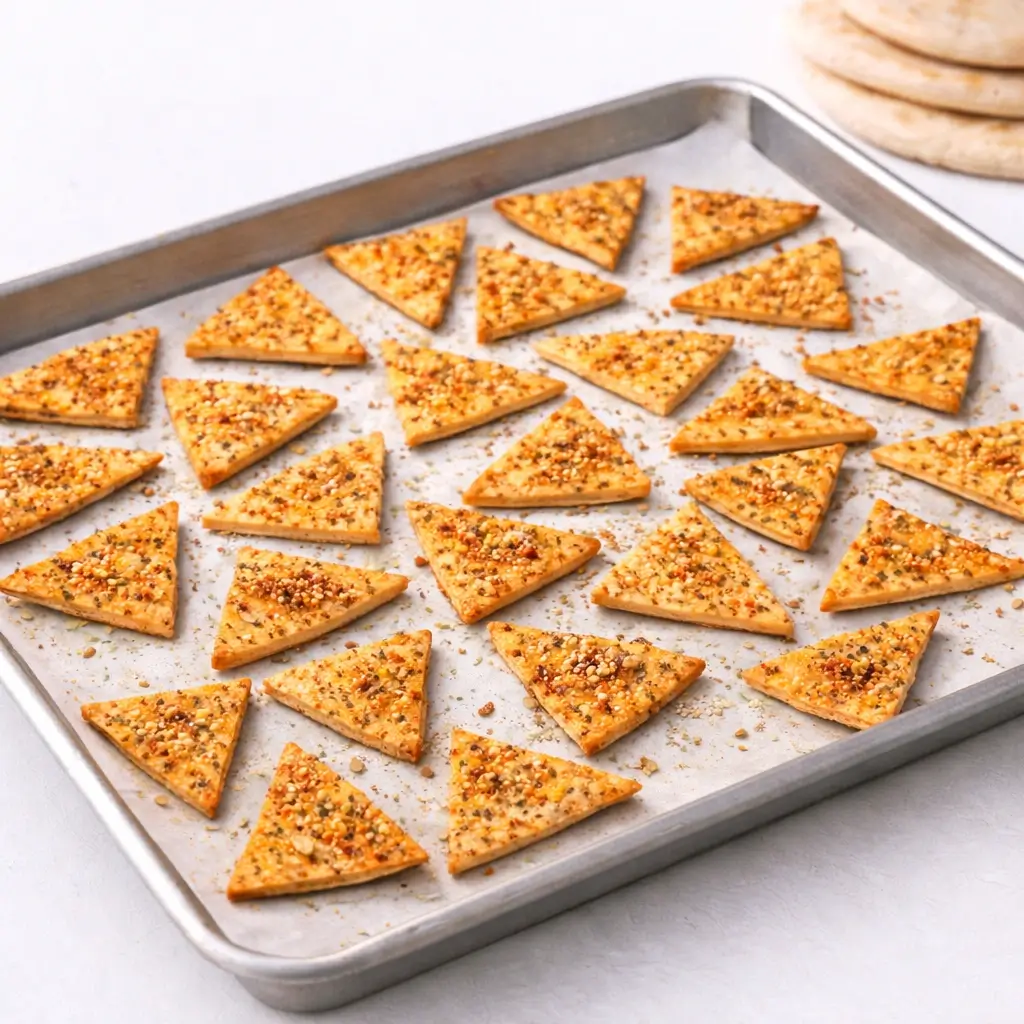
- Store smartly: Once cool, keep them in an airtight container at room temperature. They can keep their crunch for around one week.
Air Fryer Pita Chips (Alternative Method)
Want to make them even faster? The air fryer version is your best friend.
- Temperature: Set your air fryer to 375°F (190°C).
- Time: Cook for 4–6 minutes, depending on your preferred crispiness.
- Shake halfway: Gently toss or shake the basket halfway through to make sure all sides cook evenly.
You’ll get ultra-crispy chips with less oil and faster cooking time — perfect for quick cravings!
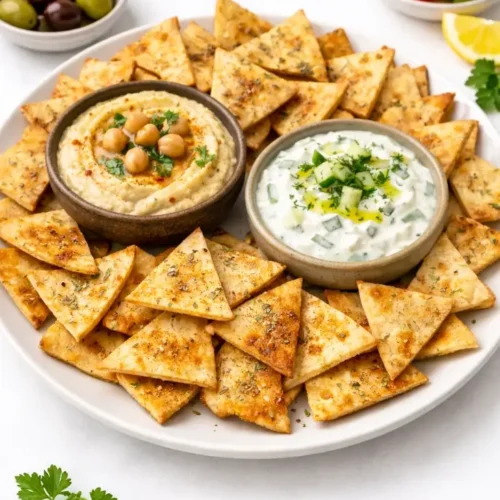
Serving Ideas
Homemade pita chips are endlessly versatile. Try them with:
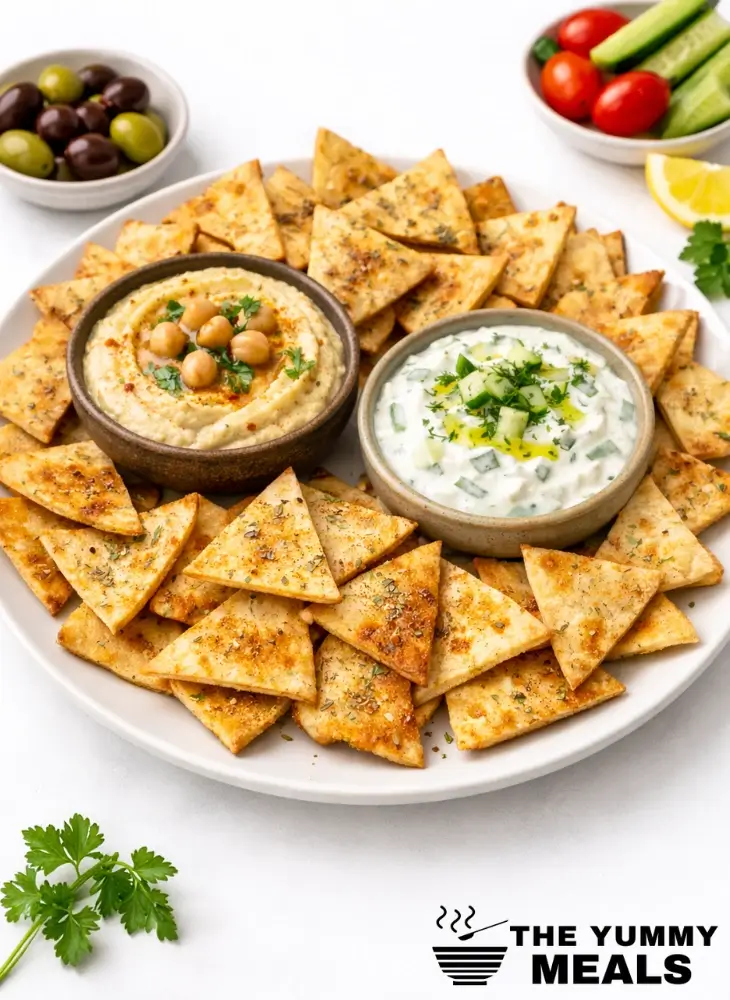
- Dips: Pair with hummus, tzatziki, guacamole, or salsa for a simple appetizer.
- Salads: Crush them over Greek or Caesar salad for an extra crunch.
- Soups: Sprinkle on top of tomato soup, lentil soup, or minestrone.
- Mediterranean nachos: Use as a base and top with feta, olives, cucumber, and diced tomatoes.
- Cheese platter: Serve alongside assorted cheeses, nuts, and olives for a party spread.
Expert Tips
- Give them space to bake: For the Homemade Pita Chips Recipe, avoid piling chips too close together. Spacing them out helps hot air flow evenly, making every piece crisp and golden.
- Keep a close watch while baking: Pita chips can go from perfectly toasted to burnt very quickly. Stay nearby and check often so they don’t overcook in the last few minutes.
- Slice the pita evenly: Cut the pita bread into pieces that are about the same size. Even cuts bake at the same speed and give you a better crunch throughout the batch.
- Choose good olive oil: Using high-quality olive oil adds real flavor and helps the chips brown beautifully. It makes a noticeable difference in the final taste and texture.
- Flip halfway through cooking: Halfway through baking, turn the chips over for balanced crispness. This step helps both sides cook evenly in your Homemade Pita Chips Recipe.
- Cool completely for maximum crunch: Let the chips sit for a bit after baking instead of enjoying them right away. Cooling allows them to firm up and become extra crispy.
- Season at the right time: Add spices before baking for a deeper, baked-in flavor, or sprinkle after for a lighter finish. Either way, your Homemade Pita Chips Recipe will taste amazing.
Homemade Pita Chips Recipe Variations
- Garlic Herb Style: This Homemade Pita Chips Recipe twist is great for anyone who enjoys strong, bold flavors. Mix the pita pieces with olive oil, garlic powder, and dried herbs before baking for a tasty, crunchy bite.
- Spicy Chili Lime Twist: Add a little heat by mixing chili powder, paprika, and a squeeze of lime. This version gives your chips a zesty, spicy kick that pairs well with creamy dips.
- Cheesy Parmesan Chips: For a richer snack, sprinkle grated parmesan and Italian seasoning on top. This variation makes the chips extra crispy and full of cheesy goodness.
- Cinnamon Sugar Sweet Chips: If you’re craving something sweet, coat the pita in butter, cinnamon, and a hint of sugar. It’s a fun dessert-style twist on a classic snack.
- Smoky Barbecue Flavor: Use barbecue seasoning or smoked paprika for a deep, smoky taste. This option is great for parties and tastes amazing with salsa or guacamole.
- Everything Bagel Seasoning: Finish your Homemade Pita Chips Recipe with everything bagel spice for a crunchy, salty bite. It’s a flavorful choice that feels special but is super easy.
Whichever variation you pick, a Homemade Pita Chips Recipe is always an easy and tasty homemade treat.

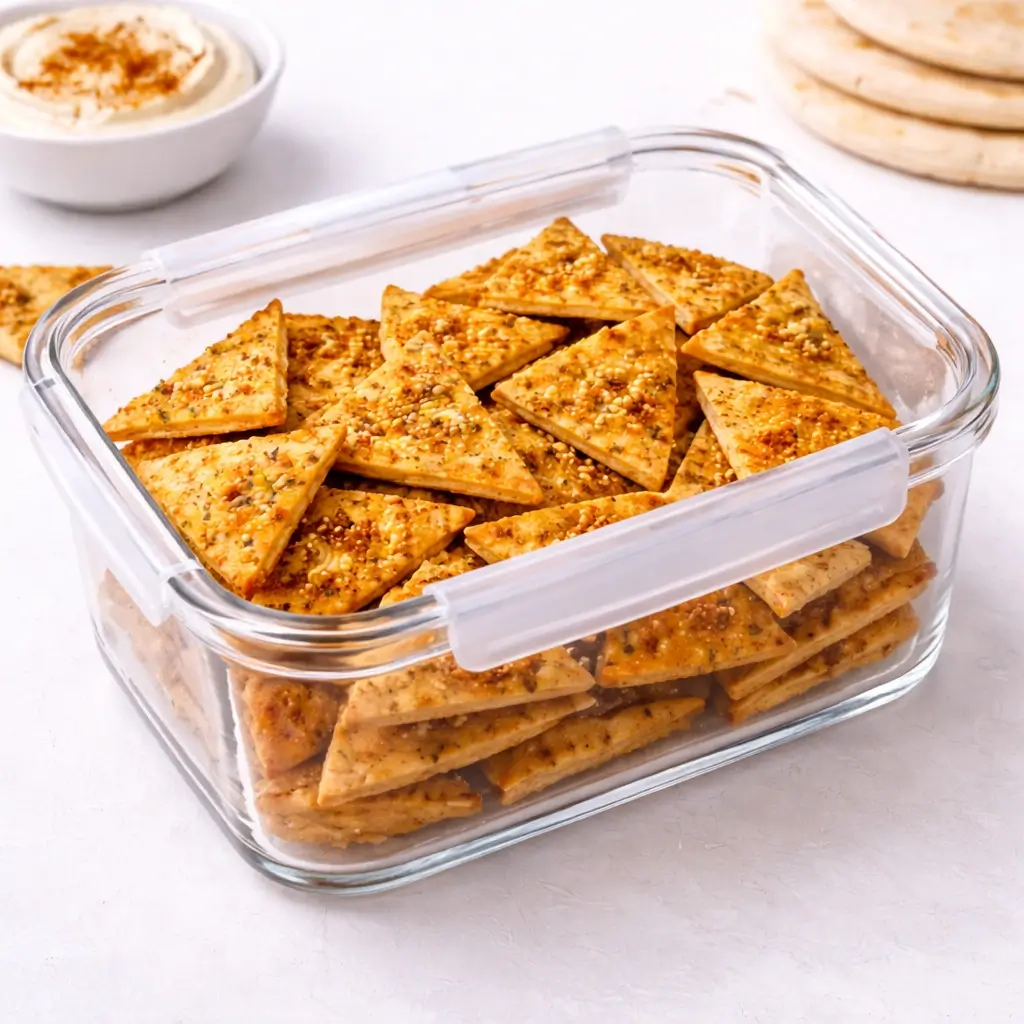
Storage Tips
- Keep them crunchy: Store only after they’ve completely cooled. Warm chips can trap moisture.
- Best container: Use an airtight jar or resealable plastic bag. Add a paper towel inside to absorb extra moisture.
- Room temperature: Ideal for up to 7 days.
- Freezing? Not ideal. While you can freeze them, they tend to lose crispness when thawed. It’s best to make a fresh batch — they’re quick anyway!
FAQs
Can I use naan or tortillas instead of pita bread?
Yes! Naan and tortillas work well, but the texture will be different. Pita creates a classic crunch with light air pockets.
How do I make them gluten-free?
Use gluten-free pita or flatbread. Most grocery stores now carry great options that crisp beautifully.
Can I make them oil-free?
Yes, you can! Baking them dry makes a lighter snack, but they’ll be slightly less crisp and golden.
Why do my pita chips turn out chewy instead of crispy?
They might need a bit more time in the oven, or weren’t cooled totally before storage.
How long do homemade pita chips last?
They stay crunchy for up to a week if stored properly in an airtight container.
Are pita chips healthy?
Homemade pita chips recipe definitely are! They’re baked instead of fried and made with simple, wholesome ingredients you can easily control.
Recipe Card
Homemade Pita Chips Recipe
Ingredients
• 4 pita breads (white or whole wheat)
• 3 tbsp olive oil
• ½ tsp salt
• ½ tsp garlic powder (optional)
• ½ tsp paprika (optional)
• ½ tsp dried oregano (optional)
Instructions
1. Preheat Oven: Set your oven to 400°F (200°C).
2. Prepare Pita- Cut each pita into eight triangles or desired shape.
3. Separate Layers (optional):- For thinner chips, gently split the pita.
4. Season: Place pieces in a bowl, drizzle with olive oil, and sprinkle salt and spices. Toss to coat evenly.
5. Arrange on Tray: Line a baking tray with parchment paper and arrange the pita chips in a single, even layer.
6. Bake- Bake for 7–10 minutes, flipping halfway through, until golden and crisp.
7. Cool: Let cool completely before storing or serving.
Notes
- For extra crunch, use slightly stale pita bread.
- Don’t skip flipping — it ensures even crispness.
- Try the air fryer version for faster cooking (375°F for 4–6 minutes).
- Add cheese or herbs precisely after baking while the chips are warm.
- Always cool before storing to keep them crisp.
- If they soften, reheat in the oven for 2–3 minutes.
- Serve with hummus, tzatziki, or guacamole for the perfect snack!
Nutrition Facts (Approximate Values)
